
 תמונה
⚡ צור
Pick an effect, upload your photo, and the built-in recipe does the rest. Same photo, far more reliable results.
You have been writing prompts by hand. Templates skip all of that — pick a card below, upload your photo, and get the same scene in one click.
תמונה
⚡ צור
 חדש תמונה
⚡ צור
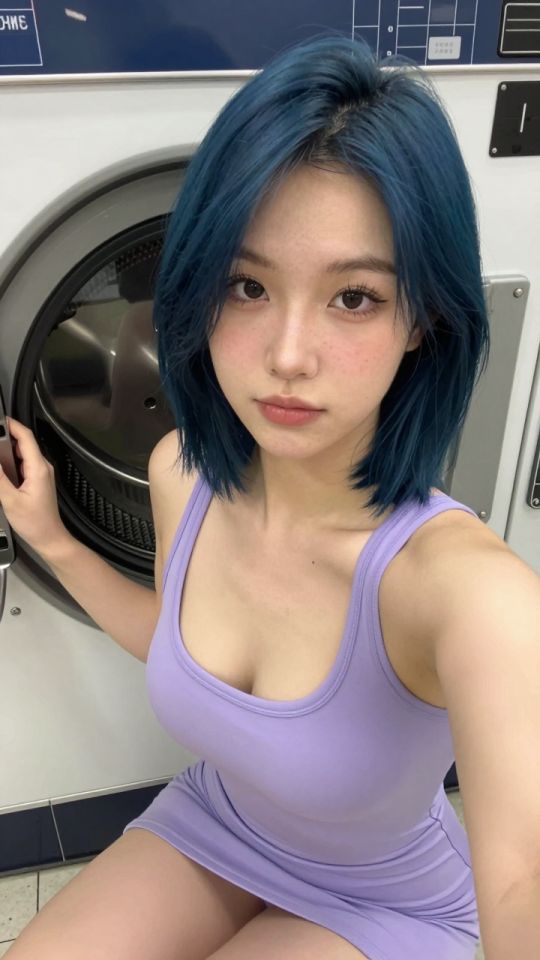
 חדש 5שנ׳
⚡ צור
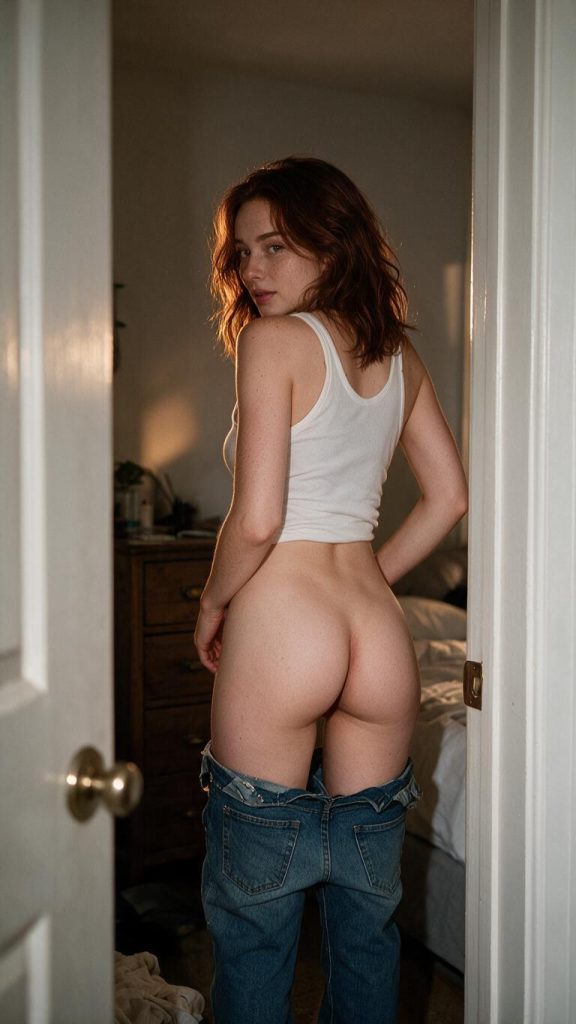
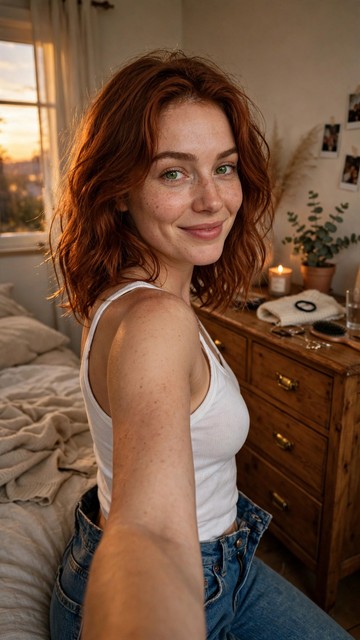 חדש תמונה
⚡ צור
 חדש 5שנ׳
⚡ צור
 5שנ׳
⚡ צור
 5שנ׳
⚡ צור
 חדש 5שנ׳
⚡ צור
 חדש תמונה
⚡ צור
 חדש תמונה
⚡ צור
 חדש 5שנ׳
⚡ צור
 חדש תמונה
⚡ צור
On this page
ה AI image upscaler takes an image and makes it larger and sharper, adding detail that was not in the original. You upload a small, blurry or low-resolution picture, choose a scale — 2x or 4x — and the model rebuilds it at a higher resolution, sharpening edges, restoring texture and cleaning up compression artefacts. The composition and the content stay exactly the same; only the resolution and the clarity change.
It is different from simply enlarging an image in a photo app. A normal resize stretches the same pixels, so the image gets bigger and blurrier. The upscaler is a generative model: it looks at the image, understands what it shows — skin, hair, fabric, a face — and draws the missing detail back in. That is why an upscaled image can look genuinely sharper, not just bigger.
Upscaling an image takes four steps, and the whole process usually finishes in under a minute.
Here is what the upscaler offers, and when each option matters most.
Double or quadruple the resolution. 2x is the safe default for most images; 4x is for prints and wallpapers.
The model rebuilds fine detail — skin texture, hair strands, fabric weave — instead of just stretching the pixels.
AI-generated images are often small or soft. Upscaling sharpens them for wallpapers, prints and close-up viewing.
Removes the blockiness and smearing left by heavy JPEG compression, so old or re-saved images look clean again.
Most upscales finish in under a minute, so you can sharpen a batch of images without waiting around.
Your uploads and results are tied to your account and are never published. Input images are deleted automatically after generation.
Upscaling is a finishing step, and it works best when you use it at the right moment. These five habits make the biggest difference.
Upscaling helps most on images that are small, slightly blurry, or compressed — a low-resolution generation, an old photo, a screenshot. It helps least on images that are already sharp and high-resolution, because there is nothing missing to restore. If the image already looks crisp at full size, skip the upscaler and download it as it is.
2x is enough for most uses: a phone wallpaper, a social post, a gallery image. It doubles the resolution without changing the look of the image. 4x quadruples it, which is what you want for a print or a large wallpaper — but 4x also has more room to invent detail, and on some images it can look over-sharpened or slightly artificial. When in doubt, try 2x first and only go to 4x if you still need more.
Do your edits first, then upscale the final version. If you upscale first and then edit, the editor has to work on a much larger image, the edit is slower, and the upscaled detail can get smeared by the edit. The correct order is: generate, edit, then upscale the finished image as the last step before download.
The upscaler adds detail, but it cannot fix a broken image. It cannot repair bad anatomy — a distorted hand or a melted face will still be distorted, just sharper. It cannot recover a face that is completely blurred out, and it cannot undo heavy compression that has already destroyed the texture. If the problem is in the content, fix the content first (regenerate or edit it), then upscale.
Always compare the upscaled version with the original at full size. Zoom in on the face, the hands and the fine textures. A good upscale looks sharper and still natural. A bad one looks waxy, over-sharpened, or slightly plastic — especially on skin. If it looks artificial, run it again at a lower scale.
The upscaler is the last step in a workflow — it takes a finished image and makes it worth keeping at full size:
If you are not sure whether an image needs upscaling, open it at the size you will actually view it at. If it looks sharp there, it does not need it. If it looks soft, upscale it.
The upscaler accepts the usual image formats — JPEG, PNG and WebP — up to the size limit shown on the upload button. Very large originals do not need upscaling at all; the tool is built for small, soft or compressed images. If your image is already high-resolution, download it as it is.
It rebuilds fine detail that was lost to low resolution or compression — skin texture, hair strands, fabric weave, sharp edges. The composition and the content do not change. On a small or blurry image the difference is obvious; on an already sharp image it is subtle, because there is little missing detail to restore.
Each upscale costs credits, and the exact price is shown on the button before you confirm. 4x costs more than 2x because it generates four times the pixels. Start with 2x — it is enough for most uses — and only pay for 4x when you need a print or a large wallpaper.
JPEG, PNG and WebP are accepted, and the result is delivered as a high-resolution image you can download. If you upload a PNG with transparency, check the result — the upscaler works best on ordinary photographs and generated images.
Both. It works on any image: AI generations, real photographs, old scanned photos, screenshots. It is especially useful on AI-generated images, which are often produced at a small size, and on old photos that have been compressed many times.
That usually means the scale was too high for that image. Run it again at 2x instead of 4x — the lower scale invents less detail and looks more natural. If it still looks waxy or over-sharpened, the original was probably too low quality, and no upscale will fix it. Regenerate or re-shoot the image instead.
Ready to try it? Upload an image in the upscaler at the top of this page and see it sharpened in under a minute.
התמונה שלך נמחקת לאחר היצירה..
עיין בקבציםפעולות שנכשלו מזוכות באופן אוטומטי. התוצאות מגיעות תוך האוסף שלי.
התחבר עם גוגל כדי להתחיל ליצור
פותח התחברות מאובטחת לגוגל……